Solved: This effect requires GPU acceleration on Premiere Pro
When using Premiere Pro or After Effects, you might have seen this error, “This effect requires GPU acceleration.”
Often, this error occurs because the software cannot render certain special effects and animations. The reason for this is that your GPU acceleration is not active.
Luckily, this guide will show you the possible methods, so you don’t have to worry. So, continue reading to explore the solutions.
See also:
What is a GPU Acceleration?
GPU-accelerated computing is a technique that uses GPU and CPU to streamline operations that are processing-intensive, for example, deep learning, analytics, and engineering. Without rendering, GPU-accelerated effects and transitions can be played in real-time.
In general, the higher the video quality, the more work your graphics card has to do. You may experience performance issues as a result.
Reasons for This Effect Requires GPU Acceleration Error
The error message “this effect requires GPU acceleration” can be caused by a number of factors. Here are some of the most common causes.
No Graphics Card: Without a dedicated graphics card, your system may display this error message. In devices with integrated HD graphics, this is a common problem.
Third-Party Plugins: There are times when third-party plugins can cause this problem. You can try removing the plugin and restarting your software if that doesn’t work.
Obsolete Graphics Drivers: When your graphics drivers are not up to date, you may see GPU acceleration errors. The official website is the best place to get the latest drivers, so download them.
How To Fix This Effect Requires GPU Acceleration
You can try these solutions to resolve the error, “this effect needs GPU acceleration” as a last resort. There is no guarantee that they will work, but it’s worth trying.
Solution 1: Enable Mercury GPU Acceleration
In order to resolve this error message, you should first ensure that GPU acceleration is enabled on your computer.
In the Video Rendering and Effects settings, choose Mercury Software Only instead of GPU acceleration, and you will see the error message. You can find it in the Project Settings tab. In order to resolve the issue, you will need to enable GPU acceleration.
Follow the steps to enable this feature:
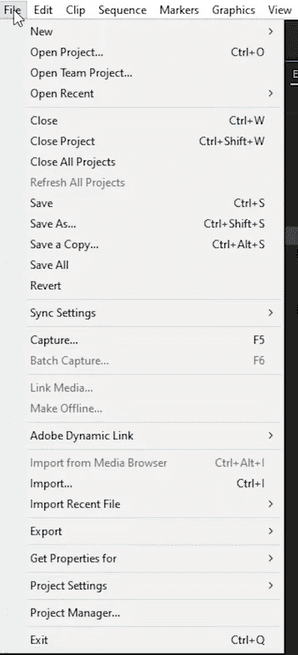
Step 1: To begin with, click the File drop-down menu in After Effects or Premiere Pro.
Step 2: Choose Project Settings>General from the menu at the bottom. A new window will appear on your screen.
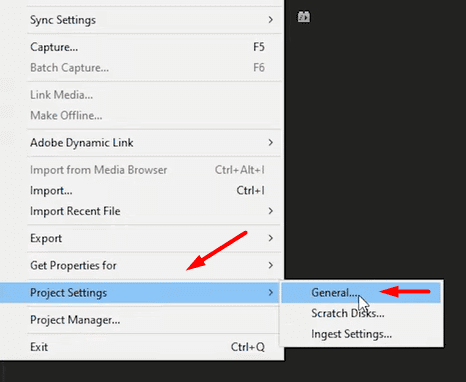
Step 3: Select Mercury GPU Acceleration from the drop-down menu in the Video Rendering and Effects tab of the Project Settings window.

Step 4: When you’re done, click OK.
Step 5: Check if the problem persists by applying your effects again.
Solution 2: Update Graphics Driver
Driver problems can sometimes occur with graphics cards. When a graphics driver is outdated or faulty, Premiere Pro will encounter unexpected issues.
Be sure your graphics driver is up to date and working correctly. The latest graphics card drivers are usually available on the website of your graphics card manufacturer.
Update your GPU driver by following these steps:
Step 1: Select the Start menu from the Windows Start screen.
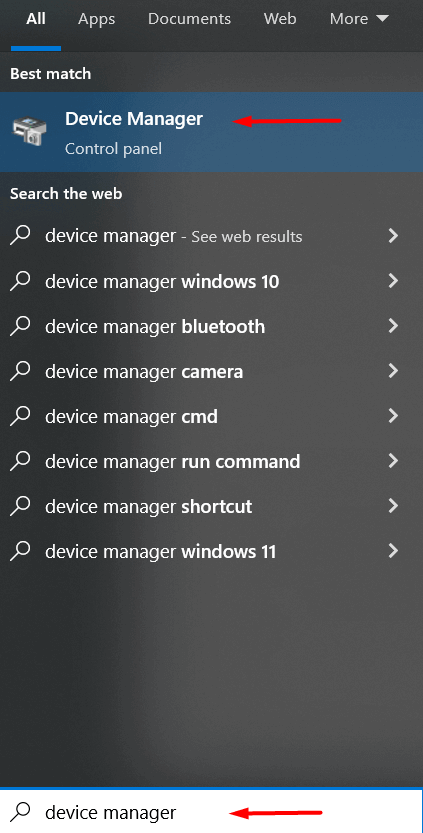
Step 2: In the search bar, type the words “Device Manager” and click on the application.
Step 3: The GPU would be located under Display Adapters.
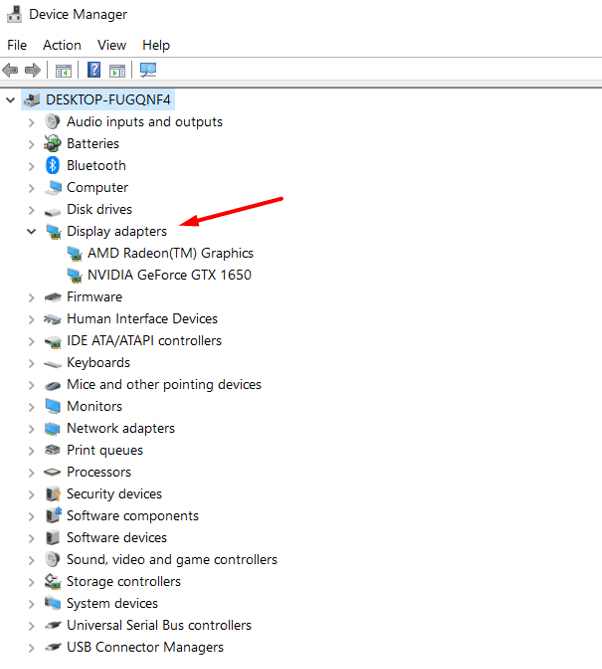
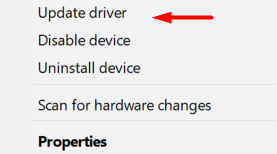
Step 4: Select “Update Driver” for your GPU model using the right-click menu.
Step 5: Complete the update by following the instructions on the screen.
Step 6: After you have changed the GPU driver, restart your PC.
Solution 3: Third-Party Plugins/Extensions
Premiere Pro has the excellent feature of allowing users to install third-party plugins, which provide the additional functionality they require.
Plugins can be beneficial, but sometimes they can cause problems. This error may occur if you use an outdated or faulty third-party plugin.
Despite updating Premiere Pro and the default effects regularly, many users forget to update third-party plugins, causing irregularities and random errors. If you are using any of them, you can try updating them and see if it works.
Solution 4: Save as New Project to Restore GPU Acceleration
The method has been reported to work for some users with existing projects. It’s first necessary to delete the media cache and create a new copy of the project using the “save as” option.
Following is a detailed description of the process:
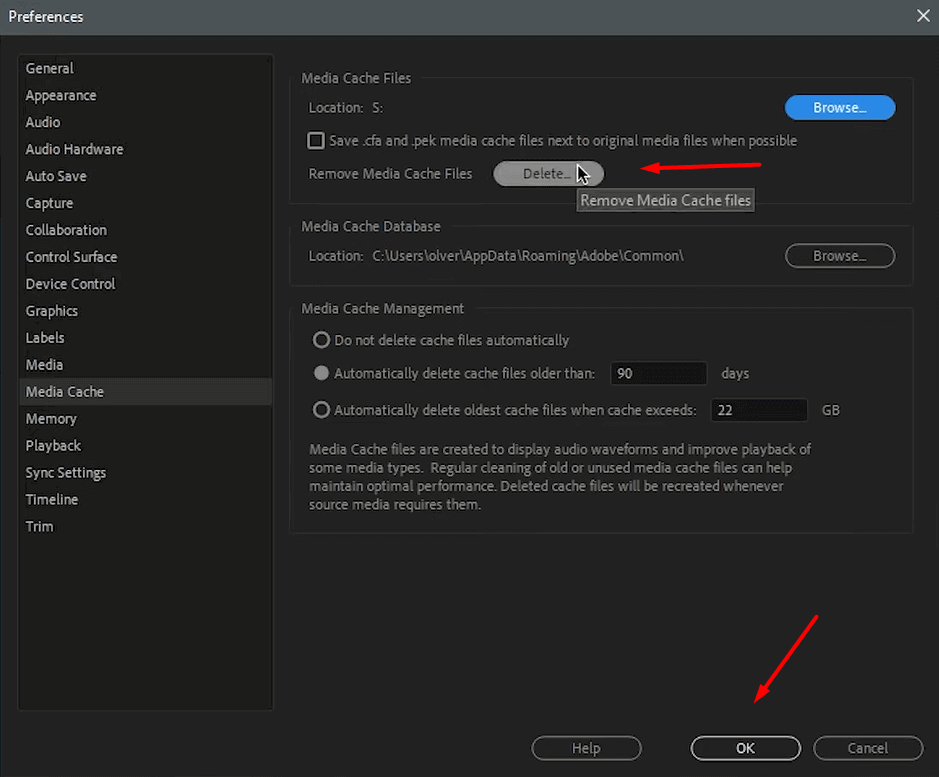
Step 1: Choose Media Cache in Premiere Pro’s preference settings. Once you have done this, simply click the Delete button.
Step 2: From the File menu, choose Save As to save an existing project as a new one.
Step 3: Restart the computer after you have quit Premiere Pro.
Step 4: Make a new sequence by copying and pasting the sequence into a new project, and then repeat step 2 to save the new project.
Step 5: Close the program and restart the computer again.
You should be able to use GPU acceleration as soon as you launch the project. As a result, you will no longer see the red banner “This effect requires GPU acceleration.”
Solution 5: Change the order of effects
Many users have found this fix useful when using multiple effects on their video clips.
If the error banner appears after using a certain effect on your clip, then you know that effect may have problems.
It is simply a matter of rearranging the effects in the Effects Control Window in order to correct this issue. You can easily reorder the effects in the list by dragging and dropping them. It may be possible to fix the issue by moving the effect that is actually causing the problem to the top and then seeing if that works. If that’s not working, change the order of the effects and see what happens.
A few users have also reported that they were able to resolve the problem by directly applying the effect to the clip instead of placing it in the Effects Control panel. Hence, you should also try changing the order if you aren’t able to solve the problem by changing it simply and see if it helps.
Solution 6: Use compatibility mode with Adobe software
You can resolve many application issues by changing the compatibility mode. A compatibility mode is a feature in Windows that enables applications to appear to run on an older version of Windows. Compatibility mode may be required if your software was designed for an older version of Windows.
Read Also: Nvidia Graphics Driver Not Compatible with This Version of Windows
The following steps will help you:
Step 1: Go to the Properties window by right-clicking on the Adobe Software icon on the desktop.
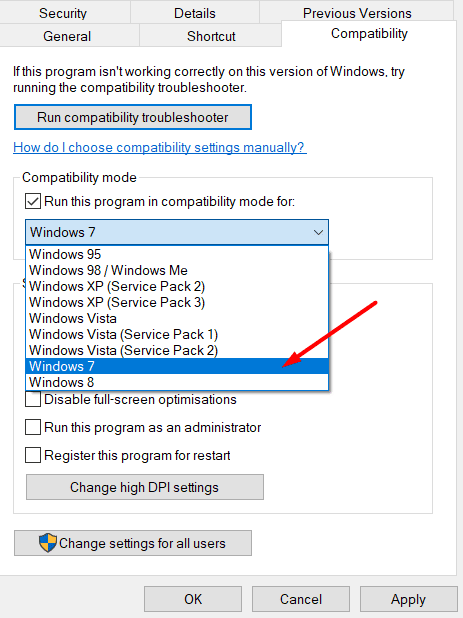
Step 2: Choose the Compatibility tab from the right-hand menu.
Step 3: Attempt to resolve the issue by clicking on the Run compatibility troubleshooter.
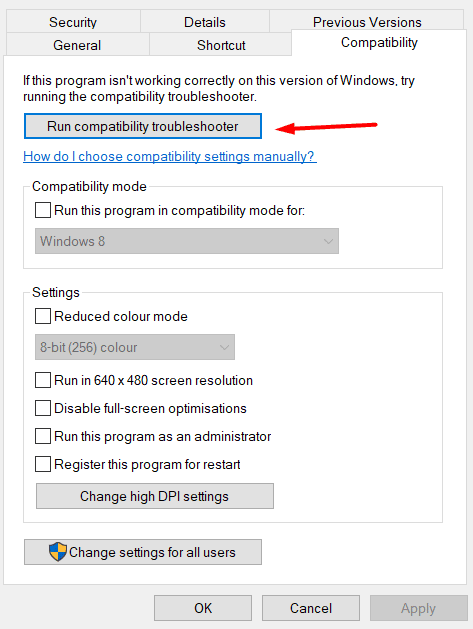
You can try opening up the compatibility menu again if the error message “This effect requires GPU acceleration” persists.
Nevertheless, this time, click the box next to “Run this program in compatibility mode”, choose Windows 7 or another version, and then click OK.
Check if the problem is resolved by restarting Adobe.
Solution 7: Check That Your Adobe Software Is Up to Date
Your GPU may not be able to fully utilize your graphics card if your Adobe version is outdated. Here is how you can easily update Adobe software:
Step 1: Choose the Start menu from the Windows Start screen.
Step 2: You can find Adobe Creative Cloud by searching for it and clicking on the Updates tab.
Step 3: You will see pending updates under the Updates tab if any have been released.
Step 4: The updates will be installed when you click Update all.
Step 5: Once the process is complete, restart the computer and check if GPU acceleration is still disabled.
In Adobe Creative Cloud, you can enable the automatic updates option if you don’t want to check for them every so often. This option can be found in the top right corner.
Solution 8: Download the NVIDIA CUDA toolkit and install it
This toolkit from NVIDIA lets you create GPU-accelerated software. Also, all the necessary components are provided to let GPU-accelerated applications run.
There are a number of useful tools and documentation included in the package, as well as a developer runtime environment.
This software fixes Adobe’s hardware acceleration issue, so it might come in handy.
To download the NVIDIA GPU CUDA toolkit, follow these steps:
Step 1: Go to your browser and type CUDA toolkit. Click on the NVIDIA download link from the search results.
Step 2: Simply click on the Download button and choose the appropriate options for your system.
Step 3: Install the file by clicking “Run as administrator” once it has been downloaded.
Step 4: Try restarting your computer after installing the CUDA toolkit and see if the problem still exists.
Final Words
The knowledge of how to fix this effect requires GPU acceleration issues and configuring it for your system is vital if you want to become a video editor using Premiere Pro.
Hopefully, you were able to resolve the error by following the methods mentioned above. If so, please do share it with your friends who might be facing the same issue.
However, if you encounter any problems, please comment below.